Running UTORvpn
-
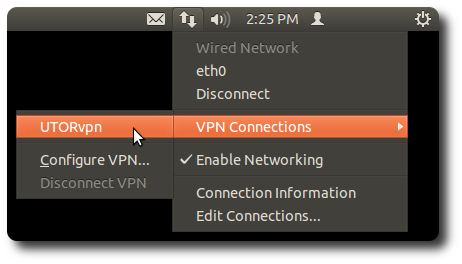
Now that you have configured UTORvpn, you can create the VPN tunnel by selecting
the NetworkManager icon in the menu bar and selecting "VPN Connections"
→ "UTORvpn".
-
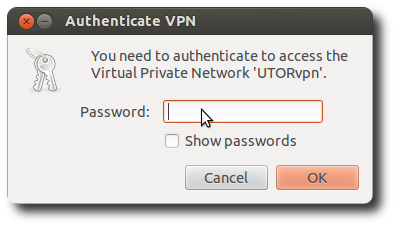
The connection will start, and if you set the "Password" field to "Always Ask"
in the configuration stage, you will be prompted for your UTORid password.
-
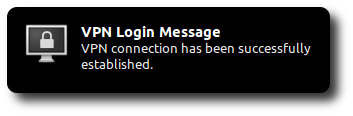
Once the connection is complete, you should see a notification pop up:
-
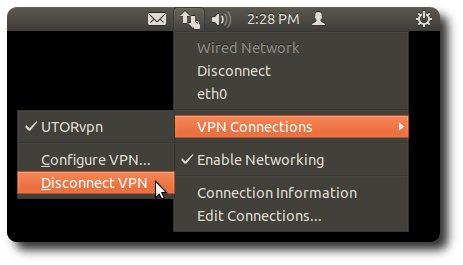
To disconnect from UTORvpn, select the NetworkManager icon and choose
"VPN Connections" → "Disconnect VPN".